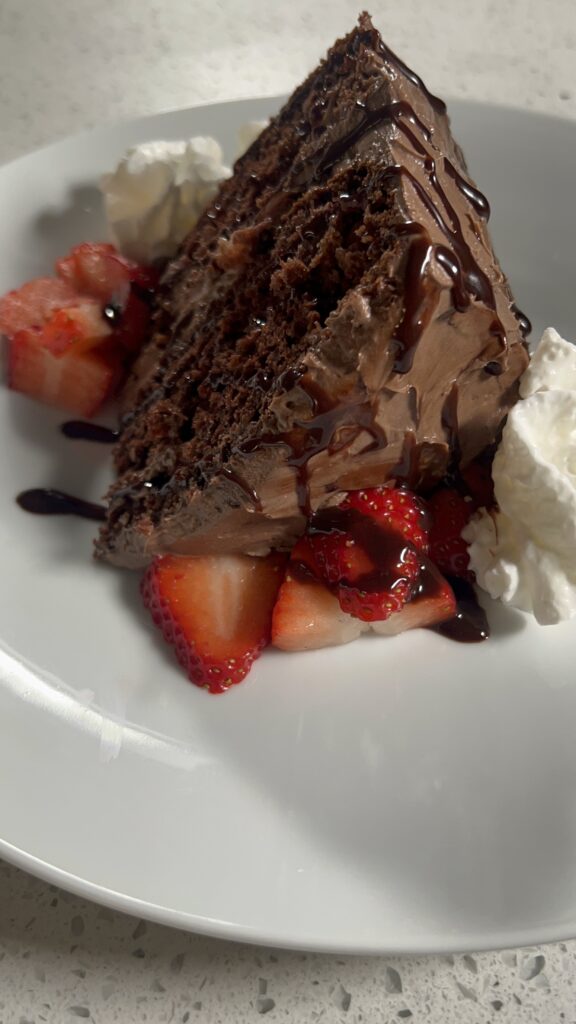
Y’all it’s that time of year when you are invited to the cookout, the bonfire, the park, etc. Well, that was me this past weekend, except I had so many errands to run and chores to do that I actually forgot the dessert. I know, I had to make this dessert within 30 minutes because it needed to be set for a while before serving. Yes I waited til the last minute. Well, today I will show you how you can make this quick and easy banana pudding cake cup in under 30 minutes. Together, let’s make this quick and easy banana pudding cake cup.
I was kind of freaking out because I had a lot going on. But I think I pulled it off. So, if you are looking for a quick dessert to take to the cookout and you don’t want it to look like you went to the store and bought it. But if you want an elevated dessert look, go ahead and try this delicious dessert. You will not be disappointed.
Delicious Quick and Easy Banana Pudding Cake Cup
Instead of making an old-school banana pudding, I opted for an individual serving cup with cake, bananas, and wafers because the pudding wouldn’t take too long to set. Although I had to make this dessert fast, it did not lack any flavor at all. The reviews I received from the party were that the dessert cup wasn’t too sweet, it was light and airy, and most importantly, it was delicious!
Ingredients
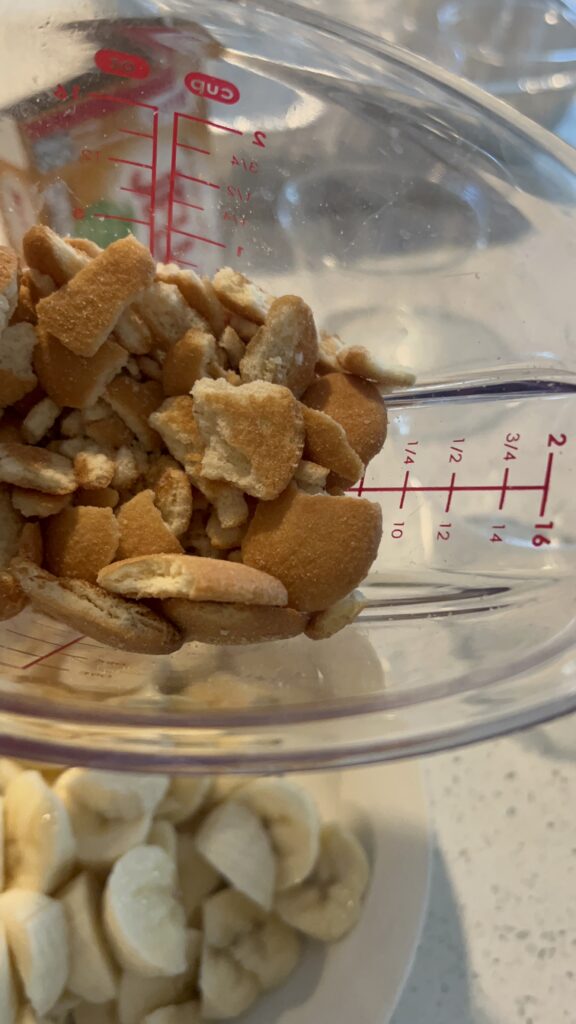
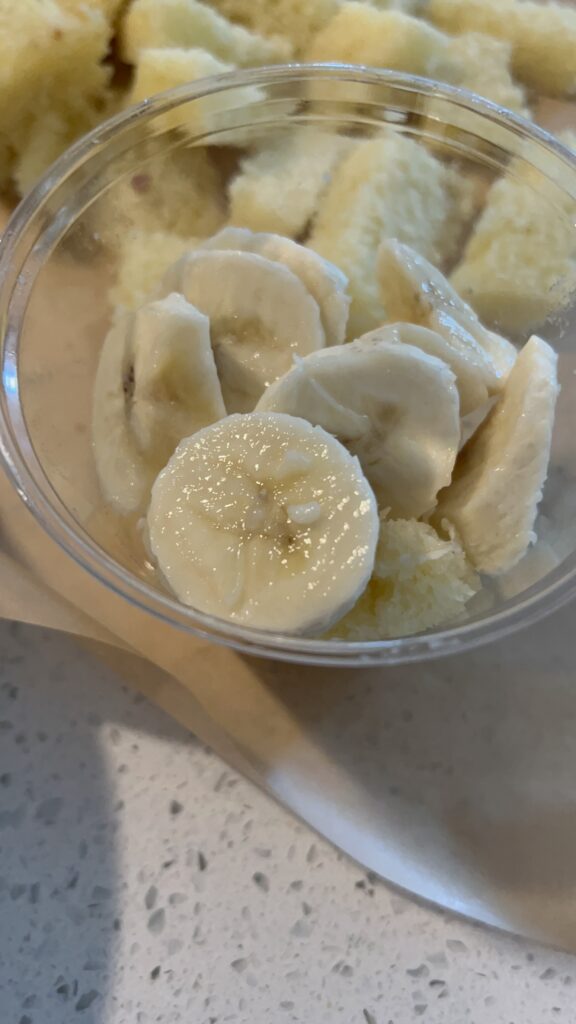
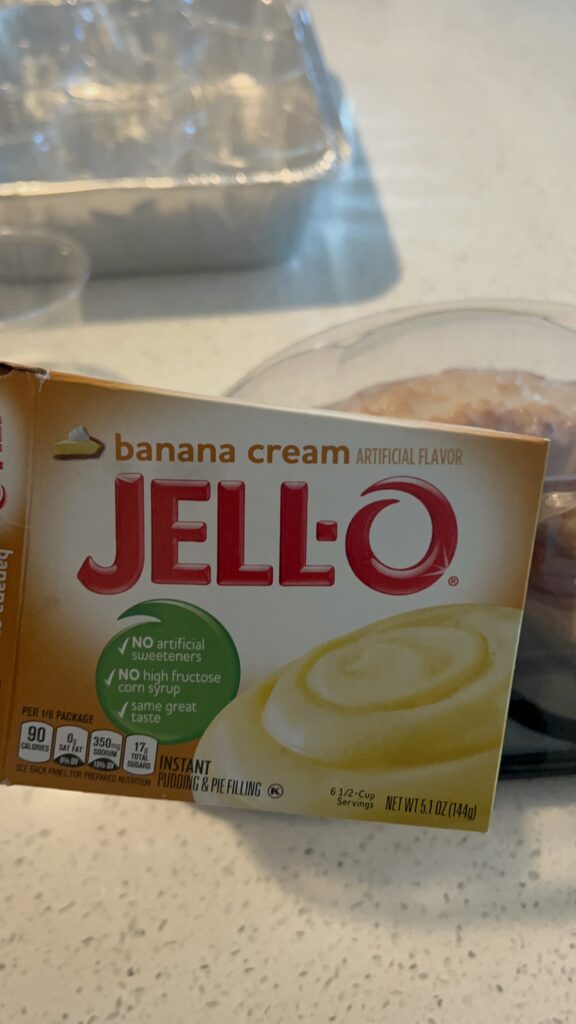
So before you make this amazing dessert, you will need a few ingredients: Nilla Wafers, instant banana pudding, milk, bananas, and a white (or sour cream) pudding store-bought cake. You will also need some kind of cup to put the dessert in before serving it to guests. I used the 8–9-ounce clear cups. Add whip cream for an added elegant touch.
To make this process go by quickly, you must lay out all your ingredients first. Do not mix the pudding until the very last step.
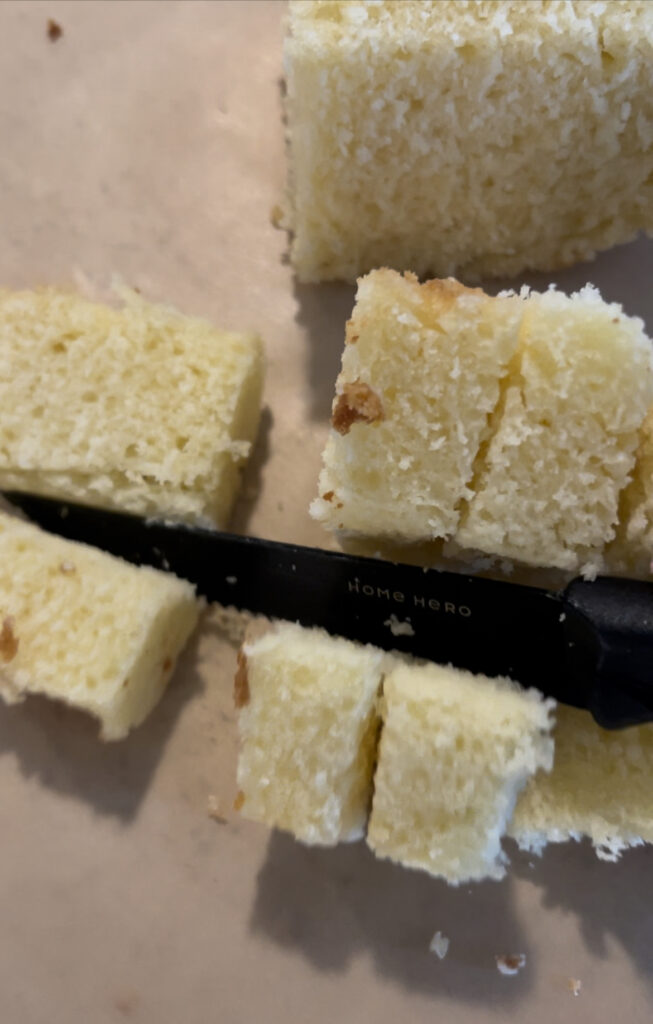
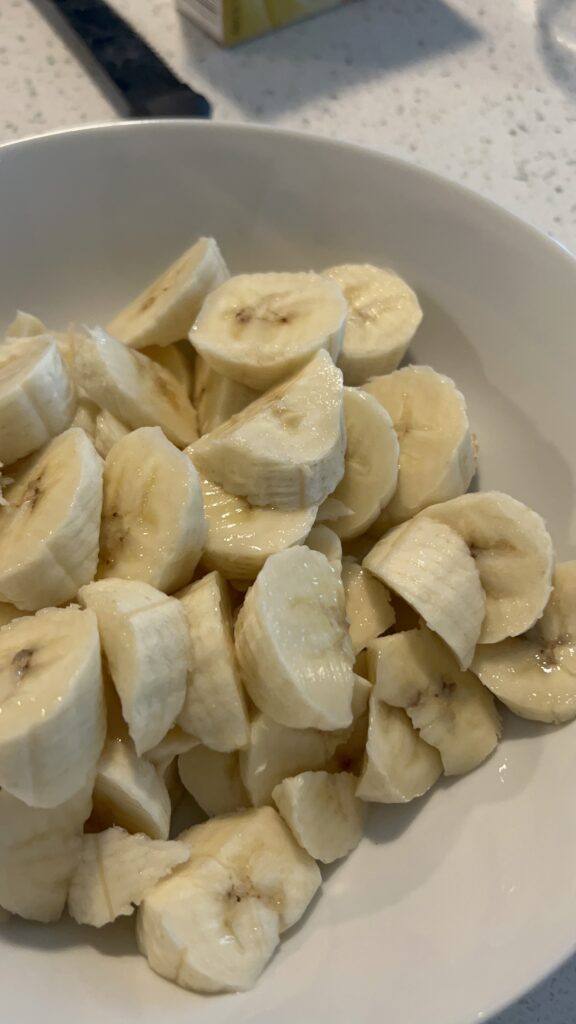
You will want to cut the angel cake or pound cake into squares, set to the side, and now slice your bananas; this will add some freshness to the banana cake cup. Next, put your wafers in a bag and semi-crush the Nilla wafers; you want to leave some big pieces for an added crunch element.
A few steps…..
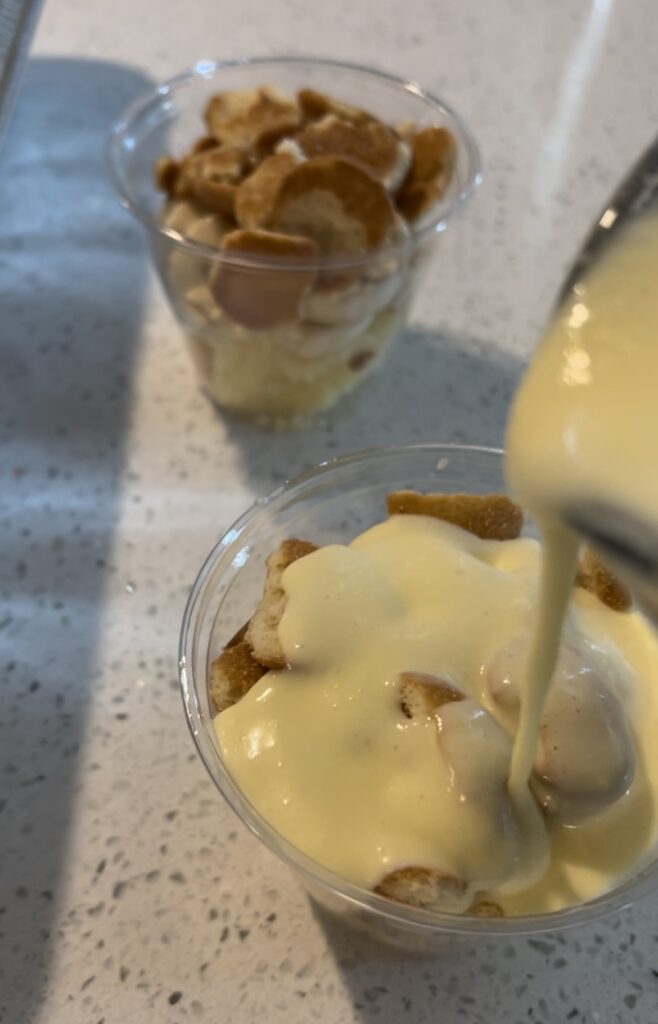
Before you assemble, lay all your cups out on the counter. Now that the fun part begins….. add the bottom layer to each cup. In this case, it will be the cake. Next, add the second layer, which will be the banana layer. I just put in enough bananas to cover the previous layer of the cake completely. Then, take the crunched wafers and add about 1-2 tablespoons on top of the bananas. Your 3 layers should be enough to fill the cup up to the top. Now that is, it’s time to mix the banana pudding and milk together. In a large bowl, add the milk and slowly whisk in the banana pudding. You will have to act fast because you don’t want the pudding mix to thicken up on you before it’s poured into the cups. Now pour about ¼ cup of pudding into each cake cup; you can add more later if you need to. But start with ¼ cup so that you will have enough pudding for all the cups. Store the cups in your refrigerator until you are ready to leave. Don’t forget the whipped cream. Add the whipped cream right before serving if you like. This recipe made about 12 cups.
Quick and Easy Banana Pudding Cake Cup Ingredients
Quick and Easy Banana pudding cake cup Instructions
- Place all the clear cups on the counter
- Cut the cake into small to medium squares
- Slice the bananas and set aside
- Crush the Nilla wafers
- Assemble the cake cup… Place the cake in the cup (about 4-5 pieces)
- Next, add the sliced bananas, about 5-6 pieces (or more, it’s up to you)
- Add the crushed wafers on top, about 1-2 tablespoons
- In a large bowl, pour the milk into the bowl, then slowly whisk in the pudding. Work fast; you do not want the pudding to thicken before pouring it into the cup.
- Pour about 1/4 cup into each cup.
- Place the cups in the refrigerator for at least 20-30 minutes. Add whip cream right before serving to guests.

